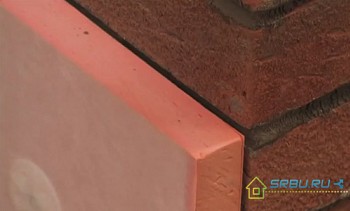
Insulation of the foundation with polystyrene foam - how to do it right
Just about to build a house, you should think about how to reliably and efficiently insulate and protect its future foundation from moisture. As a rule, there is no extra money and time for this. So many “for later” leave such an important matter. The construction of the house is coming to an end, and “things are still there” - the non-insulated foundation remains in its original form.
Several years pass, and it becomes clear that a mistake has been made that negatively affected the entire supporting structure of the building. It would be necessary to take care of the basis of this design earlier, and now it remains only to sadly shrug. Warming the foundation with polystyrene foam - a popular modern heat insulator, is the most practical and effective way of thermal insulation of the foundation. Today we will talk about how to make insulation using this material, including preparatory work and the process of insulation itself.
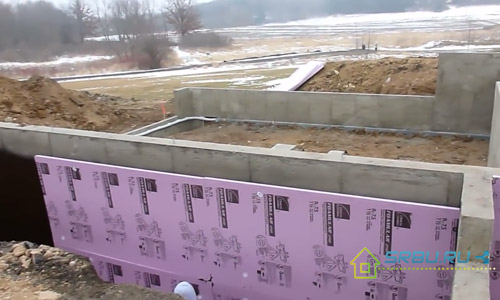
We clean and level the foundation
When our home base is ready, you can begin to clean the base. We will arm ourselves with a rough synthetic brush, and begin to pick out from the shallow pores of the foundation all up to a single grain of sand, as well as dirt particles. We work until the surface is clean enough.
As a rule, at the foundation, not only the walls are not very even, but the corners are far from ideal. If the differences in the foundation are large enough, then to make the base geometrically correct, you can align the surface with beacons. To do this, through meter and a half from each other, it is necessary to fix the guide beacons.
Now you need to prepare a cement mortar, for which we take 4 parts of sifted sand and 1 part of cement grade M500. Diluting the mixture with water to the consistency of a not very thick dough, apply it to the walls with a trowel. We work from top to bottom. Keep in mind that with too much water, the mass will slide off the walls before it can dry.
It is necessary to level the foundation walls in several steps, each time giving the time for the solution to dry no less than a day or two. If the walls are not very curved, then only two layers will be needed - the upper one will serve for the final leveling of the surface. Smoothness of this layer can be made using a two-meter building rule made of aluminum. When working with this tool, it is necessary to lead it along the wall in a wave-like fashion. We repeat this operation 5 or 6 times.
In the case when the deviation of the walls from the norm is 2.5 centimeters or more, reinforcement is carried out using a mesh netting. It is fixed to the wall with metal brackets. However, you can do without the grid, taking, for example, not very thick (from 8 to 10 millimeters in diameter) reinforcement rods. They are connected to each other using a knitting wire.
Everything is done, the walls of the foundation finally became smooth. Next, we wait about a month for all excess moisture from the foundation to evaporate. Now it's time to put a layer of special acro-glue with a spatula. This adhesive is well suited for working with porous materials, therefore it is glued with expanded polystyrene boards to reduce surface adhesion. Next, we organize waterproofing.
Protect the foundation from moisture
Basically, liquid bitumen was always used for this purpose, which was rolled out along the entire foundation with a roller. That's just working with this material is not very convenient. It has to be constantly heated, otherwise it quickly hardens, and then melts for a long time. When applying bitumen, it is necessary to wear a respirator or mask, since vapors of harmful substances are released.And after it is difficult to launder. A hot shower with ordinary soap will not help - but bitumen is easily dissolved by acetone.
True, it is possible to isolate the foundation with sheets of techno-nikol - many take this method into service, completely rejecting bitumen. TechnoNIKOL is glued with an ordinary gas burner. Of course, it is convenient to mount such sheets, only they save from moisture many times worse than a bituminous coating. After all, all the microscopic pores and cracks in the foundation can be well covered only by bitumen. Therefore, sometimes it is first necessary to apply this coating, and already on top - techno-nikol.
Bitumen is usually sold in the form of bars. They need to be melted, for which they take a barrel of metal with a volume of 200 liters. Several bricks are placed under its bottom to make a gap for heating. In addition to the bitumen bars, the used oil is poured into the barrel from the engine (either diesel or gasoline). It gives the composition the desired plasticity, so that in the cold the bitumen layer does not crack. For 130 or 150 kilograms of bitumen, 50 liters of oil are taken. The mass is applied to the underground part of the foundation, on both sides, and on the front side - and on the ground part.
Glue sheets of techno-nikol after hardening of bitumen. They must be constantly smoothed to squeeze out excess air. Work is carried out from top to bottom, leading a gas burner at a certain distance from the sheets. It is best to keep this distance of about 20 or 25 centimeters, otherwise the material will melt. When all the sheets are glued, we will coat their joints with mastic. That's all - now the foundation can be insulated with polystyrene foam.
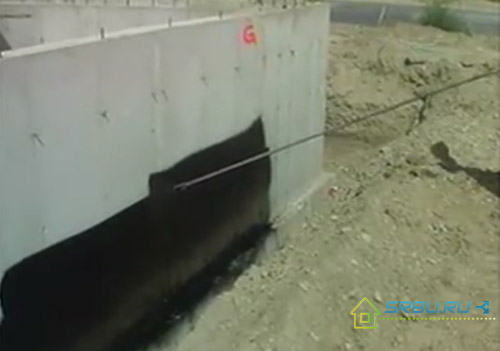
It is possible to apply bituminous waterproofing using a roller or a special spray.
Making the foundation warm
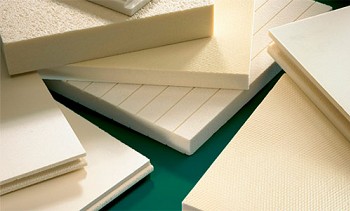
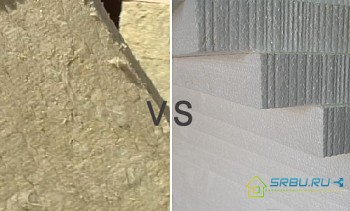
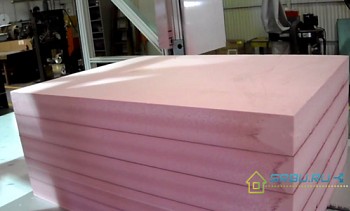
To begin with, we will decide what material we will insulate the foundation of our house. As a rule, polystyrene foam is used for these purposes, which is commonly called polystyrene foam. It can be either ordinary or extruded, having a dense foam structure. The second option is preferable, since ordinary foam is fragile, and it is easy to crumble even with little effort. He also has a too high coefficient of thermal conductivity, and he is sintered from exposure to sunlight.
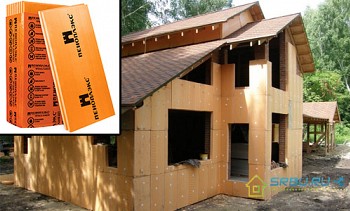
Expanded polystyrene, obtained by extrusion, has a not very high density - 35 kilograms per cubic meter. It is an excellent heat insulator, protects against moisture, is quite hard. Although it costs 2 times more expensive than regular polystyrene, but in this case it is better not to save. Otherwise, you can pay for the quality of thermal insulation.
It should be noted that polystyrene plates are produced both with a smooth lateral surface and with protrusions for the castle connection. The latter are very convenient - they form a plane with virtually no joints, so such plates are more in use. Styrofoam sheets should be stacked vertically on top of each other.
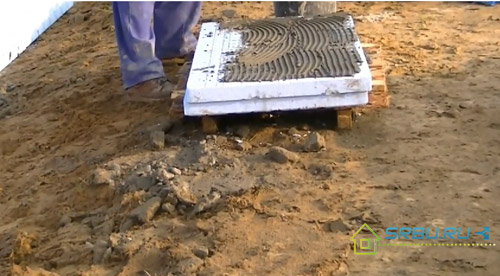
You can stick polystyrene foam sheets using special bitumen mastic or using ordinary polystyrene adhesive.
For the installation of expanded polystyrene plates, dowels and nails, the so-called "umbrellas", as well as plastic nails are needed. Thanks to this, bridges of cold can be avoided. The dimensions of the dowels must be calculated based on the thickness of the expanded polystyrene we use. So, for sheets of 5 centimeters thick, you need to buy umbrellas 12 centimeters long, and 1 centimeter in diameter. For one square meter of the plate, pieces of 5 or 6 such dowels are necessary.
We work with a drill-puncher. Since the walls are made of concrete, rotation together with shock mode is suitable. A centimeter diameter drill type SDS / plus should have a length of 16 centimeters. In the plate, 5 or 6 holes are drilled - one in each of the corners, as well as one or two in the center.
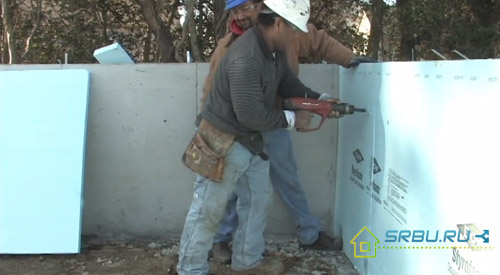
More holes do not need to be made. After that, all the dowels must be driven in all the way. Then comes the line of nails. By the way, after installing the dowels, you need to cover all the resulting dents with acro-glue. It dries about 6 hours, no less - and then, if the weather is dry and warm.
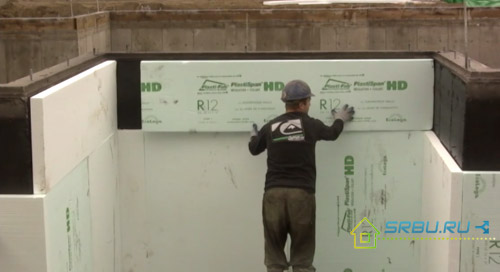
The last sheets, so as not to make a lot of pieces, and therefore the joints, it is better to lay horizontally.
When we mount the polystyrene foam layer, we can notice that the wall surface does not stand out above the foundation level. Therefore, we begin to insulate the wall so that the wall hangs slightly above the base of the house. We take the insulator layer not very thick - 2.5 or 3 centimeters. In conclusion, we add that the polystyrene foam insulation layer should be solid, without holes and gaps. If you take plates with a castle connection, this is not difficult to achieve - adhering tightly to each other, they form an even layer.
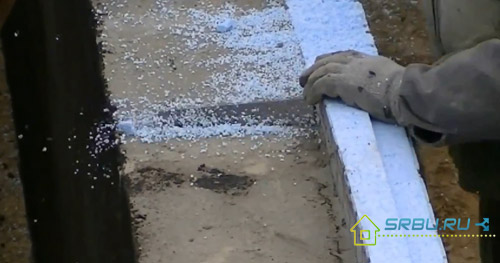
If a hill remains above the foundation surface, then with the help of any, even blunt, hacksaw, we cut off the excess polystyrene foam.
We protect the insulation
The last stage of foundation insulation with extruded polystyrene foam is the application of a reinforcing layer. He will keep on the same acro-glue. By the way, this glue produced in Poland showed itself best of all. He is inexpensive, and keeps excellent. For each square meter of walls, take 3 or 4 kilograms of acro-adhesive, depending on whether the plates are neatly mounted. And in stock, take a couple of bags for every fireman.
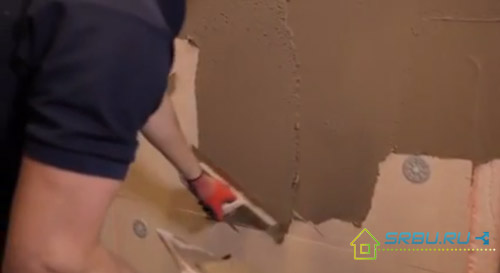
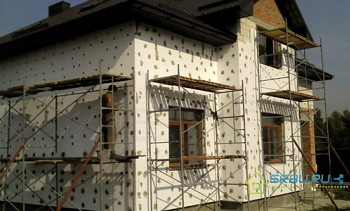
Styrofoam plastering is performed similarly to how it is done when warming the facade of a building.
Fiberglass mesh is used for reinforcement. Moreover, it should be facade, that is, applicable for external work. The grid for internal work, although it costs less, but does not withstand weather conditions, collapsing after 7 years, a maximum of 10. Believe me, there is not a very small saving in those serious unpleasant consequences that will occur.
Pieces of the grid are cut in length and glued overlapping, going for each other by 10-15 centimeters. This will avoid cracking and chipping of the reinforcing mesh at the edges. Do not forget that to reduce the number of seams, the grid must be placed horizontally relative to the plane of the wall. We smear the glue in two steps - first, by gluing the grid to the plates, we pass along it with a construction spatula.
After a day, no less, we carry out the finishing alignment. To strengthen the corners, we mount perforated corners made of metal. When another day has passed, we take a grater from rigid foam and smooth out all the bumps with sandpaper. Then, after 3-5 days, apply a primer to the surface. To do this, it is best to take a soft roller, but not foam.
Having finished work, we carefully and meticulously examine it. It is necessary to check whether we have achieved that the wall of the house is not less than 3 centimeters in comparison with the foundation wall. With this ratio, an impromptu canopy is formed above the base, which will prevent moisture from penetrating the foundation and destroying it. The best option: the total thickness of the layer of plaster and heat insulator on the walls is 3.5 centimeters. This must be known at the very beginning, erecting walls. If you make a small offset of the first row of bricks or blocks on the outside, then the desired result will be achieved.
As you can see, the technology of warming the foundations with polystyrene foam resembles the preparation of a kind of “puff cake”. In this way, you can achieve high-quality waterproofing, as well as, of course, thermal insulation. After this, it remains only to blind area around the building and do finishing work. The base can be finished, for example, with facade tiles, lined with decorative stone or painted with paint that is not afraid of water.

